
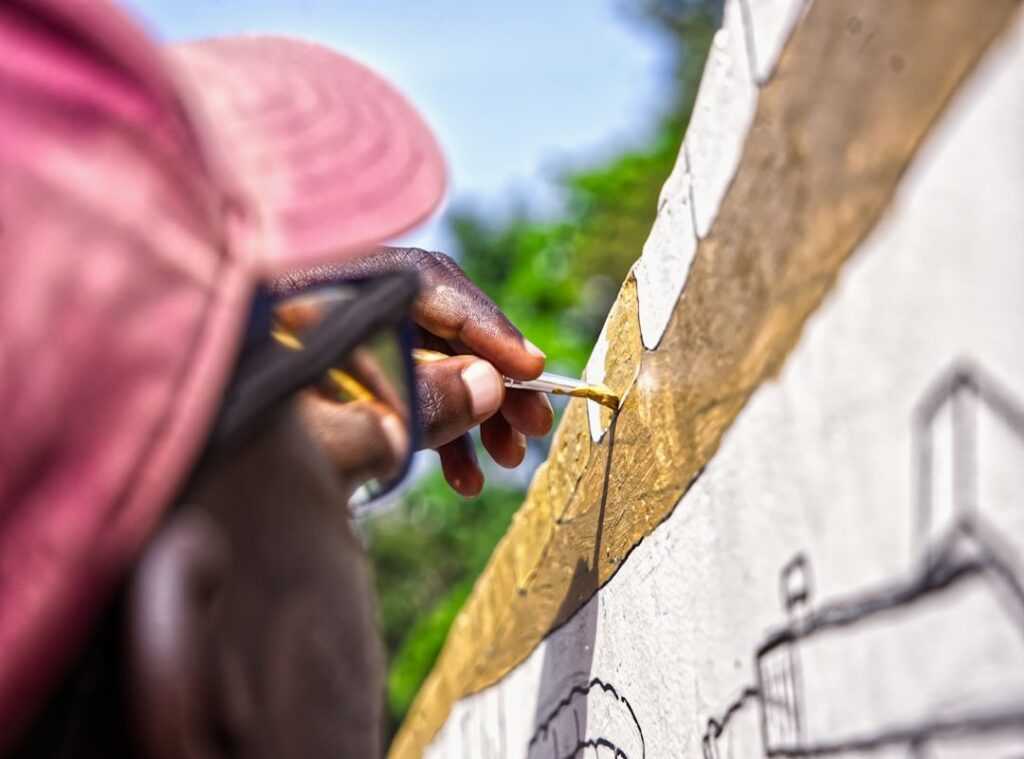
Ever stared at a blank canvas and wondered how to make it pop? I know I have. You’re not alone in that struggle.
The world of texture art hacks can seem overwhelming at first, but it doesn’t have to be. What if you could transform your art with a few simple tricks? That’s exactly what we’re diving into.
Believe me, I’ve been there: frustrated with flat, uninteresting pieces. But then I discovered how texture can add depth and intrigue. It’s like a magic ingredient for your artwork.
You might be asking, does it really work? Absolutely, it does. And it’s not as complicated as you might think.
This article is rooted in real experiences and tips from seasoned artists. We’re talking about techniques that have stood the test of time. Ready to open up the secrets to raise your art game?
Trust me, by the end, you’ll have practical know-how to bring your creations to life.
Texture’s Dance: Breathing Life into Paintings
Texture isn’t just about touch; it’s a visual language. It speaks emotion, energy, and mood. Ever noticed how texture interacts with light?
It creates shadows and highlights and changes throughout the day. The artwork feels alive, doesn’t it? Flat paintings are like watching a movie on mute.
Texture art hacks are the volume, giving it a voice.
Now, let’s talk psychology. Rough textures scream with raw energy and distress. They’re chaotic and restless.
On the other hand, smooth and built-up textures? They’re calm, soothing. Like a soft blanket.
It’s fascinating how these elements can play with our minds.
Think about going to a live concert versus listening to a CD. Texture adds that live performance vibe to a canvas. Want to dive deeper into artistic expression?
Maybe learn how make eco friendly craft adhesives to raise your craft. It’s all about the details.
Texture Art Hacks: Your Arsenal for Mastery
When it comes to creating texture, there are some tools you just can’t ignore. Let’s start with the non-negotiables. Palette knives aren’t just for mixing paint (they’re) for sculpting it too.
The trowel shape gives you broad strokes, while the diamond shape lets you carve fine lines. Different shapes, different vibes. Now, heavy body acrylics.
Their high viscosity means they hold peaks and marks like nothing else. Sure, they’re more expensive, but that’s the cost of quality. Gesso isn’t just a primer.
It’s a foundational texturizing agent. You can build it up, carve into it, and make it work for you.
Ready to level up? Modeling paste (or) molding paste, if you prefer. Creates dramatic 3D effects that paint alone can’t achieve.
It’s lightweight yet structural. Want more? Try natural aggregates.
Mix in fine sand, coffee grounds, or crushed eggshells. These aren’t just for texture. They’re for organic, unpredictable results that make your work stand out.
And sponges? Don’t even get me started. They’re not just for dishes.
Use them, along with found objects like crumpled paper or bubble wrap, for unique imprints.
Curious about how to make textured paint? Check out how to make textured paint (13 for some extra tips. Pro tip: Embrace the chaos.
Texture art isn’t about control. It’s about letting go and seeing where your materials take you. This is where true creativity lives.
Don’t just follow the rules. Bend them to your will.
Texture Art: Dive Into These 4 Techniques
Getting into texture art can feel overwhelming. Where do you even begin? Well, these four foundational techniques are the perfect starting point.
Trust me.
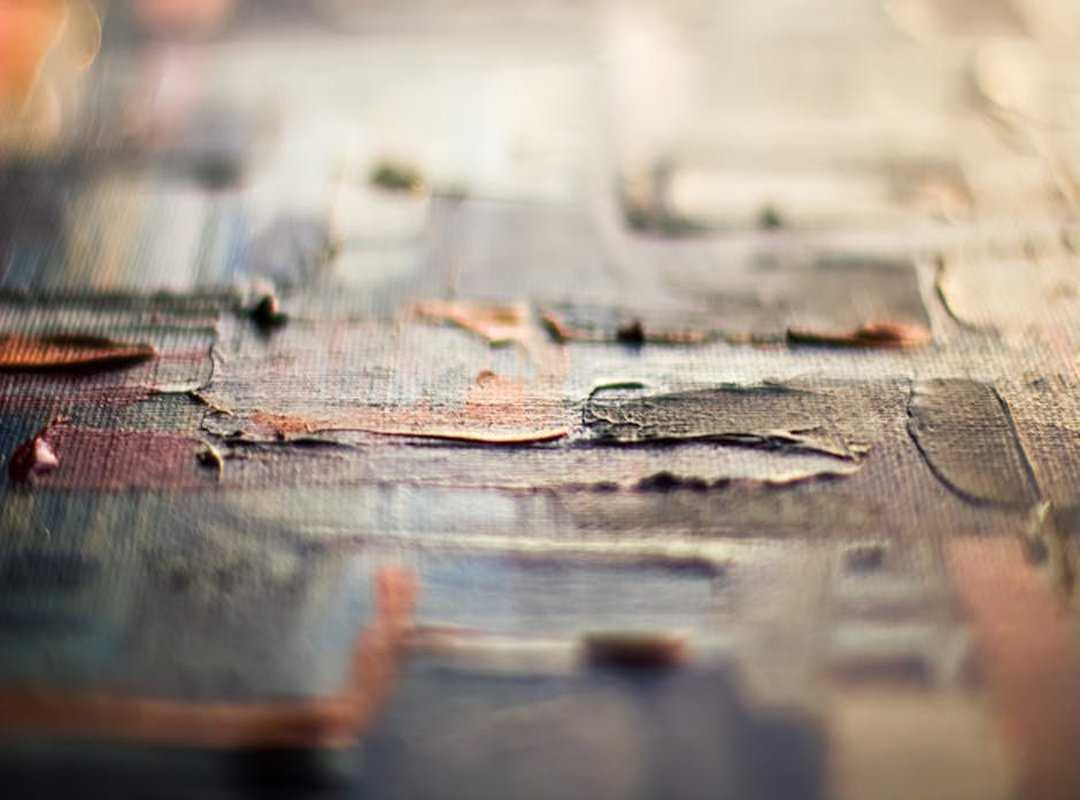
The Classic Impasto is where it all starts. Impasto involves applying thick paint to your canvas, creating visible brushstrokes or knife marks. Grab your palette knife, load it with heavy body paint, and spread it like you’re frosting a cake. Feel free to experiment. Short dabs, long scrapes, twisting motions (it’s) all fair game. This technique gives your work that bold, textured look that’s hard to ignore. And let’s be honest, isn’t that what you want?
Next, Building with Gesso Layers. This one’s all about subtlety. Apply a thick layer of gesso and let it dry just a bit.
Once dry, you can paint over it, adding depth to your art. It’s a texture art hack that transforms flat surfaces into something more engaging.
Before it hardens, grab the end of a paintbrush and carve lines or patterns into it. This creates a texture that’s foundational but not overwhelming. It’s like setting the stage for your masterpiece.
Now, if you want to get a bit gritty, try The Organic Mix-In. Mix a small amount of sand or coffee grounds with acrylic paint or modeling paste. Get that mortar-like consistency and apply it with a palette knife.
The result? Earthy, raw, naturally weathered textures. Perfect for when you want to add an organic touch to your art.
It’s like bringing a bit of the outdoors inside.
Finally, there’s Sponging for Subtle Tactility. Use a natural sea sponge or even a kitchen sponge. Dab on layers of thick paint.
Let each one dry before adding another. This builds up a complex, porous surface ideal for abstract backgrounds or cloudscapes. Want to mimic stone or foliage?
This is your go-to method.
Feeling inspired yet? These techniques give you a solid foundation to start exploring texture. And here’s a pro tip: you can repurpose everyday items crafts to add unique elements to your art.
Think outside the box. Your canvas is waiting.
Next-Level Dimension: Advanced Textures for Standout Art
Ready to push your artwork to the next level? to some texture art hacks. For those tired of flat, lifeless paintings, it’s time to experiment with sculpting using modeling paste. Unlike impasto, which gives you that thick, creamy feel, modeling paste is all about building high-relief structures.
Think mountain peaks or waves. Use a palette knife for those sharp, dramatic forms. But here’s the catch: let it dry completely before painting.
Otherwise, you risk turning lively colors into a muddy mess.
Now, about mixed-media layering. Ever thought of embedding objects directly into your canvas? It’s not just for mixed-media artists.
Grab a strong adhesive medium like gel gloss. Why? Because embedding materials can take your art from ‘meh’ to absolutely mesmerizing.
Cheesecloth offers a ghostly, veiled effect that can haunt (in a good way). Or try string or yarn for changing movement. Torn paper bits?
Perfect for that collage-like texture. Each element adds a unique vibe, transforming your piece into something entirely new.
Crackle medium is the secret sauce for achieving that weathered, vintage look. It’s a two-step process. First, lay down your base coat.
Then, add the crackle medium. Finally, apply a top coat of paint. As it dries, you’ll see cracks form, revealing the base color.
It’s like a magic trick for your canvas. Perfect for rustic themes or abstract concepts that need a bit of age and mystery.
These techniques aren’t just steps. They’re game-changers. They’re about making people stop and look closer.
So, what are you waiting for? Dive in and let your art speak with textures that can’t be ignored.
Dive Into the World of Texture
Frustrated with flat, uninspiring art? I get it. You want your pieces to pop.
Here’s your solution: texture art hacks. Impasto, gesso, mix-in, modeling paste (these) techniques let you create art that leaps off the canvas. Don’t be intimidated.
Pick one technique that excites you, gather your materials, and try it on a small canvas or even cardboard. The world of textured art is waiting for your touch. Ready to transform your work?
Your masterpiece is closer than you think. Start experimenting today, and watch your art come alive. Your canvas, your rules.
Go create!
 Lynn Hallierones assisted in building the LWMF Crafts platform by contributing ideas and support that helped expand its creative direction. Hallierones worked alongside the team to highlight artisan projects and encourage a community centered around artistic exploration and hands-on crafting innovation.