Ever stared at a plain box or an old piece of furniture and wished you knew how to transform it into something special? You’re not alone. Many are intimidated by the first step into creativity. our decoupage beginners guide comes in.
With years of experience helping crafters, I know the struggles. It’s not about talent; it’s about knowing where to start. You’ll find everything here.
From gathering supplies to finishing your project. By the end, you’ll feel ready to tackle decoupage without the usual headaches. Trust me, you’ll become confident and excited to create your first masterpiece.
Decoupage: More Than Glue and Paper
Decoupage is more than slapping some paper on an object. It’s the artistic alchemy of transforming the mundane into something unique. You take colored paper cutouts, mix in some special paint effects, maybe even a dash of gold leaf, and suddenly, you’ve turned ordinary into extraordinary.
This isn’t a new trend. It goes way back. Imagine Siberian tombs and 17th-century Venice.
People have been perfecting this craft for centuries.
Why? Because it’s not just about decoration. It’s about making things personal, infusing them with life.
Today, you can upcycle furniture or personalize tiny decor items with decoupage. It’s the ultimate in creativity and personalization.
Thinking of diving in? Check out 5 techniques boost paper craft projects for more takeaways. This decoupage beginners guide is your ticket to turning everyday items into conversation starters.
Curious about what your imagination could create? Well, there’s only one way to find out.
Assembling Your Toolkit: Essentials for Beginners
Getting started with decoupage doesn’t have to feel like you’re gearing up for a marathon. Stick to the basics, and you’ll make magic. Let’s talk surfaces.
You’ll want something smooth and non-porous. A wooden box or terracotta pot works wonders. Why?
Because they don’t fight back when you’re crafting.
Now, onto paper. You need something forgiving. Napkins or thin gift wrap are your best friends here.
They’re flexible and wrinkle less. Less hassle, more fun. Specialized decoupage paper is also great if you’re feeling fancy.
Next up, the decoupage medium. Mod Podge is the all-in-one star of the show. It’s glue, sealer, and finish rolled into one. There’s Matte for that classy, understated look and Gloss if you’re all about the shine.
How to choose? Think about the vibe you’re going for.
Tools are the unsung heroes. A soft-bristled brush is key for applying your medium smoothly. No one wants streaks.
Precision cutting? A small, sharp pair of scissors will do the trick. And, for smoothing out those pesky air bubbles, grab a brayer or an old credit card.
Trust me, they save headaches.
This might not be Hogwarts, but having the right supplies can make your projects feel like magic. Follow this decoupage beginners guide and you’ll be crafting up a storm in no time. Got the toolkit?
Now let’s get started.
Decoupage Dreams: The 5 Core Steps to a Flawless Finish
Decoupage can feel like a daunting art form. But here’s the decoupage beginners guide to make it feel less intimidating and more like a creative escape. 1. Prepare Your Canvas: The first rule? Start with a clean, dry surface.
If it’s not clean, you’re just setting yourself up for disaster (peeling is the enemy). Sometimes, a primed surface works wonders, especially if you’re aiming for longevity. Trust me, this step might seem basic, but skipping it can lead to heartbreak.
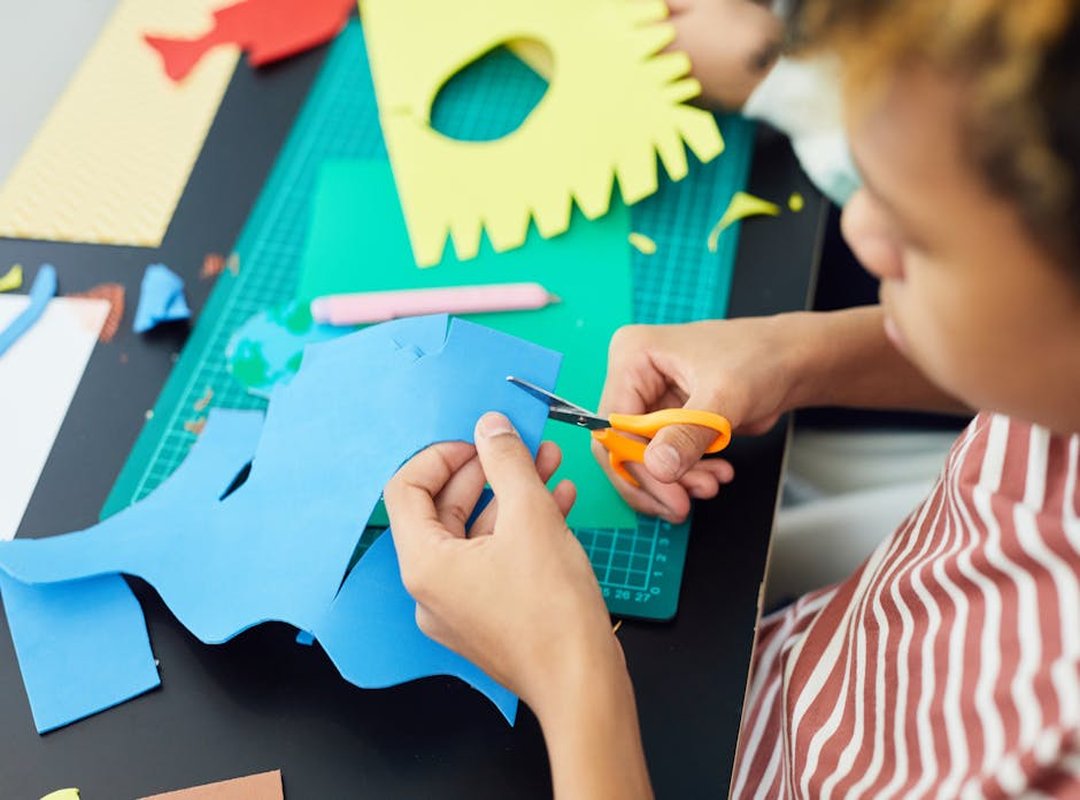
- Plan & Cut Your Design: Ever heard of “fussy cutting”? It’s not just a cute term. It’s the art of precisely cutting out your design elements.
Why? Because planning your layout before applying glue saves you from the dreaded “beginner regret.” Ever placed a piece only to realize it looks off? Yeah, me too.
Avoid it by spending time here.
- The Art of Application: This is where the magic starts. Begin by applying the medium to the surface, then place your paper carefully. But here’s the kicker: use a thin, even coat.
Slapping it on thick is tempting but resist. You’ll thank me when your paper doesn’t bubble up like a science experiment.
- The Smoothing Ritual: This step separates the pros from the newbies. Gently smooth out wrinkles and air bubbles from the center outwards. Use a brayer, your fingers, or even a plastic card.
It’s a ritual. Almost meditative. You get to watch your design come to life, wrinkle-free.
- Sealing for Permanence: The final step is all about protection. Multiple thin top coats aren’t just a chore. They’re important.
This is what gives your piece that professional, unified finish. Between coats, patience is key. Let it dry thoroughly.
Rushing leads to smudges, and nobody wants that.
Pro tip: While you’re perfecting your decoupage skills, why not check out some new quilting patterns 2024 for more inspiration?
There you have it. Your guide to a flawless decoupage finish. Simple steps, big results.
Ready to transform your space with some art? Go for it.
Avoiding Crafting Chaos: Quick Fixes for Newbies
You’ve decided to dive into decoupage. It’s exciting, isn’t it? Until those pesky wrinkles and bubbles show up.
What’s causing this mess? Usually, it’s too much glue or thick paper. The fix?
Apply thin coats and always smooth from the center out. It’s almost like ironing a shirt (without the heat).
Then there’s the horror of visible brush strokes. You know, those lines that scream “beginner”? Grab a soft-bristled brush.
When you apply the final coat, pick a direction (vertical or horizontal) and stick to it. Seriously, going rogue with brush directions is how chaos starts.
And let’s not forget a tacky finish. Nobody wants that. The culprit here?
High humidity or overly thick coats. What’s the solution? Patience is your best friend.
Let it cure for 24-72 hours. If you’re in a rush, a clear acrylic sealer can be your quick fix.
For more expert tips, check out this decoupage beginners guide. It’s packed with all the know-how you need to avoid these common pitfalls. Crafting should be fun, not frustrating.
So, remember these simple solutions when things go sideways. Happy gluing!
Create Your First Art: Easy Project Ideas
Decoupage is perfect for beginners. Why waste time with complex projects when you can start small and succeed? Here’s where I say dive into decorative coasters.
Trust me, ceramic or wooden tiles have an ideal flat surface. You won’t be overwhelmed, and it’s a great confidence booster.
Now, think about a personalized trinket box. A small wooden box lets you practice decoupaging around tricky corners. It’s challenging but rewarding.
Finally, transform a mundane glass jar into a stunning vase or candle holder. The smooth glass makes decoupage shine. Feeling inspired?
I bet you do now.
Time to Craft Your Masterpiece
Now you know the basics of decoupage. You’ve got the tools, the steps, and the tips to dodge rookie errors. It’s not just a craft; it’s a canvas for your creativity.
The decoupage beginners guide has set you up. So, what’s stopping you? Pick a project, gather your supplies, and dive in.
This is your moment to create something uniquely yours. Your first piece is just the beginning. Ready for more?
Explore advanced techniques and project galleries on lwmfcrafts.com.co. Unleash your artistic spirit now. Why wait?
Head over there and start your journey into the world of decoupage.
 Wesley Phamantons contributed to the development of LWMF Crafts by supporting the growth of its creative content and helping shape the platform’s approach to showcasing crafting techniques and artistic trends. Through collaborative efforts and attention to detail, Phamantons played a role in strengthening the project’s vision of inspiring creators and sharing practical crafting insights.