If you’re searching for fresh crafting inspiration, practical techniques, or new ways to elevate your creative projects, you’re in the right place. This article explores today’s most exciting trends in artistic expression, from innovative material hacks to evolving design styles that are reshaping DIY culture. Whether you’re refining your handmade ceramics process or experimenting with mixed-media projects, you’ll find actionable insights you can apply immediately.
We’ve drawn from experienced artisans, hands-on project testing, and current crafting trend analysis to ensure every tip shared here is practical, reliable, and rooted in real creative workflows. Instead of vague ideas, you’ll discover step-by-step guidance, efficiency-boosting techniques, and smart material substitutions that help you create more with less.
By the end, you’ll have a clearer understanding of what’s trending, what techniques truly work, and how to bring new life to your next DIY project with confidence and creativity.
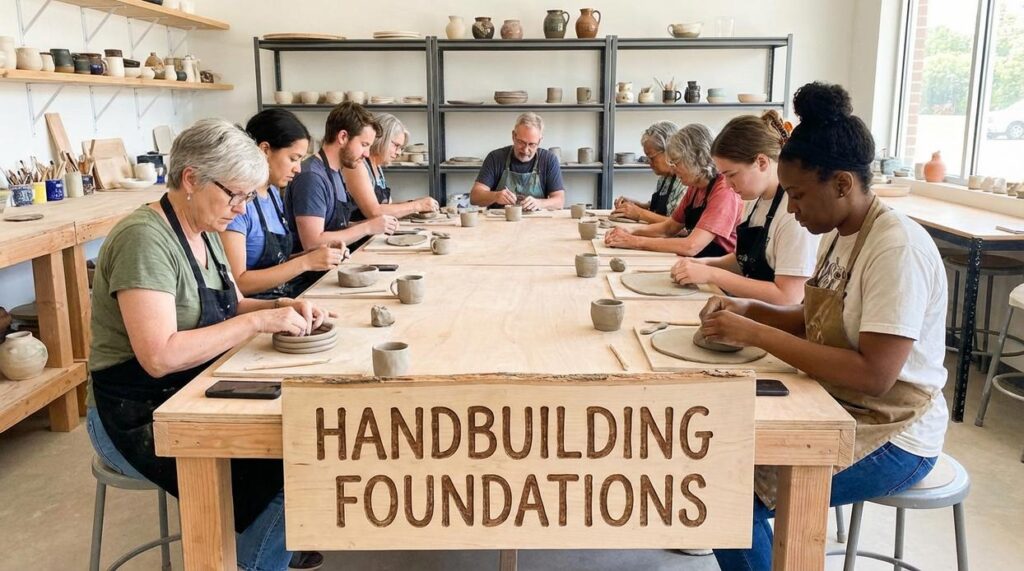
Starting with a cold lump of clay can feel INTIMIDATING, but I believe that fear is part of the magic. The handmade ceramics process isn’t some guarded secret; it’s a series of small, forgiving steps. First, choose a clay body (earthenware is beginner-friendly). Then try:
- Pinching a simple bowl to understand pressure.
- Rolling coils to build height and patience.
Some argue ceramics requires expensive tools and rare talent. I disagree. A table, your hands, and persistence are enough. Slab building teaches structure; coiling teaches rhythm. Accept the mess. In my view, clay rewards COURAGE more than perfection. Every step matters.
Choosing Your Canvas: A Practical Guide to Ceramic Clays
Choosing the right clay can make or break your handmade ceramics process (yes, it’s that foundational).
Earthenware is my go-to recommendation for beginners. It fires at low temperatures and is wonderfully forgiving—meaning cracks and warps are less dramatic. Expect a porous, rustic finish that’s perfect for decorative pieces like planters or wall art.
Stoneware is the reliable workhorse. After firing, it becomes non-porous and incredibly durable, making it ideal for mugs, bowls, and dinnerware. If you want functional pieces that last, choose stoneware. (It’s the cast-iron skillet of clays.)
Porcelain offers a silky texture and stunning translucence, but it’s less forgiving. I only recommend it once you’re comfortable controlling moisture and thickness.
Air-dry clay is kiln-free and accessible. Great for beginners or quick projects—but not food-safe and less durable.
Quick picks:
- New to clay? Start with earthenware.
- Making dishes? Choose stoneware.
- Chasing elegance? Try porcelain—carefully.
The Hand-Builder’s Toolkit: Essentials and DIY Hacks
Every great ceramic piece starts with a few non-negotiable tools. A wire clay cutter slices clean slabs from larger blocks. A fettling knife trims edges with precision. A potter’s needle pops air bubbles and scores details. And a small sponge? It controls moisture (which, trust me, is half the battle). These basics streamline the handmade ceramics process, saving you time, frustration, and wasted clay.
Your work surface matters just as much. A canvas mat or simple wooden board prevents sticking and warping. Clay clings to slick tables, but textured surfaces reduce suction and make lifting slabs easier. The benefit: smoother builds and fewer cracked bases.
On a budget? Smart swaps work beautifully:
- An old credit card as a rib for smoothing
- A fork for scoring seams
- A toothbrush for adding texture
- A kitchen rolling pin for even slabs
These hacks keep costs low while expanding creative control (MacGyver would approve).
Finally, make your own slip—often called potter’s glue. Mix dried clay scraps with water until creamy. This creates stronger joins, reducing cracks and breakage. The payoff? More durable pieces and professional-level results without professional-level spending.
The Three Pillars of Hand-Building
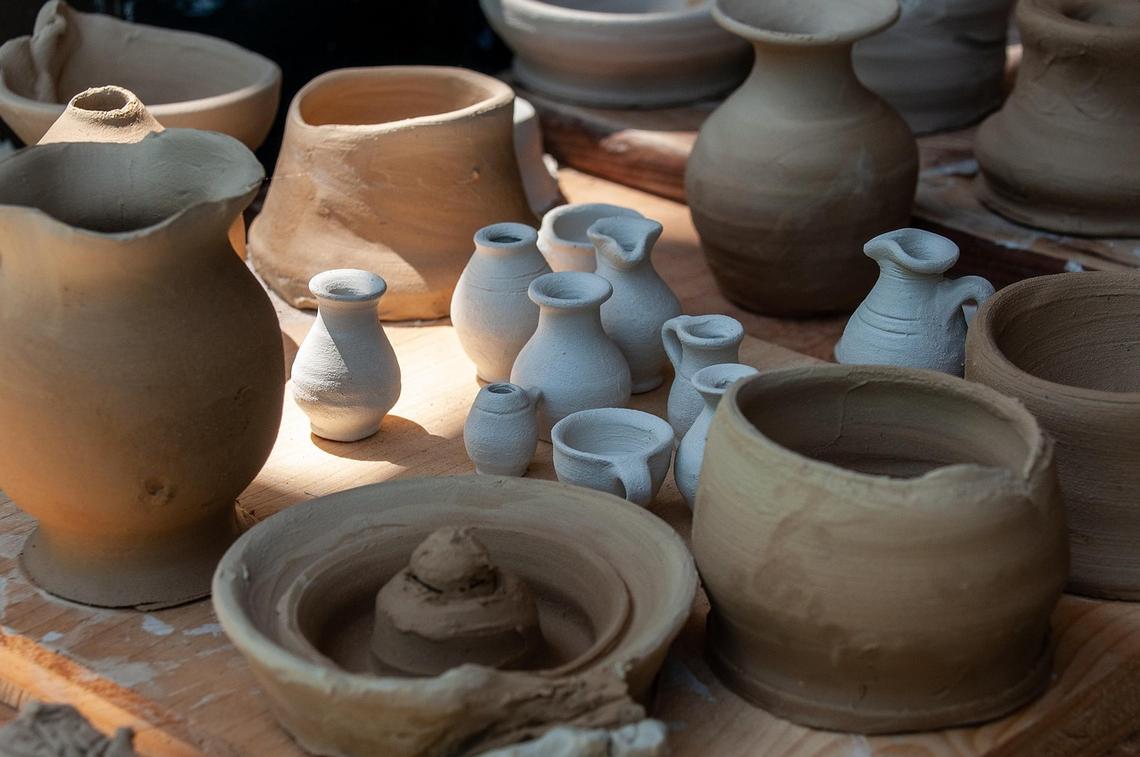
The first time I held a lump of clay, I did what most people do—I poked it with my thumb and hoped for the best. That instinct, it turns out, is the foundation of pinching, the most intuitive of the three hand-building techniques. Start with a smooth ball of clay. Press your thumb into the center, stopping about half an inch from the bottom. Then rotate the ball slowly, gently pinching the walls between your thumb and fingers. Gradually, a small bowl emerges (it feels a bit like magic the first time). Keep the pressure even to avoid thin spots.
Next comes coiling, which is where things start to feel architectural. Roll ropes of clay on a flat surface using steady, even pressure from your palms. Consistency matters—uneven coils lead to wobbly walls. To stack them, use the score and slip method: scoring means scratching the surface; slip is watered-down clay that acts like glue. Together, they help coils bond securely. Layer by layer, you can build vases or sculptural forms. I once made a lopsided vase that still holds dried lavender—proof that imperfections have charm.
Finally, slab building offers structure and precision. Roll out flat sheets with guides to maintain thickness. Cut shapes for boxes, or drape slabs over molds for plates. This approach often highlights the handmade ceramics process in its most deliberate form.
Interestingly, these tactile traditions echo other crafts, much like textile artisans reviving traditional weaving methods, where patience and touch define the outcome.
The Waiting Game: Drying and Firing Your Creation
First things first: clay hates being rushed. The Importance of Slow Drying comes down to physics—water trapped inside evaporates unevenly, causing stress that leads to cracks. As your piece moves from leather-hard (firm but still carvable) to bone-dry (no visible moisture, cool to the touch), patience is everything. Think of it like slow-cooking barbecue versus microwaving it (we all know which wins).
Meanwhile, Tips for Even Drying are simple but powerful. Cover pieces loosely with plastic to control evaporation, and rotate them periodically so one side doesn’t dry faster than the other. Pro tip: thicker areas can be lightly misted if they’re drying too quickly.
Next, Understanding the Kiln makes the magic less mysterious. The bisque fire is the first firing, hardening clay; the glaze fire melts glassy coatings at higher temperatures. Finally, Finding a Kiln—check community art centers, studios, or schools renting space—keeps your handmade ceramics process moving.
Unlocking Your Creative Potential in Clay
You now have a clear roadmap—from a simple ball of clay to a durable, finished piece. If terms like pinching, coiling, or slab building once sounded technical, here’s the simple breakdown:
- Pinching: shaping clay with your fingers to form small bowls or cups.
- Coiling: stacking rolled “snakes” of clay to build height.
- Slab building: cutting flat sheets of clay and joining them like panels.
These are foundational methods in the handmade ceramics process, and they work because they turn an overwhelming craft into manageable steps. Instead of asking, “Where do I even begin?” you focus on one technique at a time (much less intimidating, right?).
Some argue creativity can’t be taught—it should be spontaneous. But structure actually fuels freedom. When you understand the basics, experimentation feels exciting rather than confusing.
Think of it like learning chords before writing a song. Master the fundamentals, then play.
Pick one method. Start small. Your first project isn’t about perfection—it’s about momentum.
You came here looking for clarity, inspiration, and practical insight into refining your craft and elevating your artistic expression. Now you have a clearer understanding of the techniques, trends, and creative strategies shaping today’s maker movement — especially how mastering the handmade ceramics process can transform simple materials into meaningful, sellable art.
The real challenge isn’t inspiration — it’s consistency, confidence, and knowing which techniques truly make your work stand out. When your pieces don’t reflect your vision or your process feels scattered, it can stall your creativity and growth.
That’s why taking the next step matters.
Turn Inspiration Into Your Next Masterpiece
Don’t let trial and error drain your momentum. Explore more in-depth tutorials, artisan spotlights, and material hacks designed to sharpen your skills and simplify your workflow. Thousands of makers are already refining their craft with proven techniques and creative insights.
Dive into the latest guides, experiment with a new method this week, and put your learning into action. Your next standout piece starts now.
 Wesley Phamantons