If you’re searching for a clear, practical hand embroidery patterns guide, you likely want more than just pretty designs—you want step-by-step direction, pattern ideas that suit your skill level, and techniques that actually work on fabric. This article is designed to give you exactly that.
We break down essential pattern types, explain how to transfer designs cleanly, and highlight stitching methods that bring dimension and personality to your work. Whether you’re a beginner learning basic outlines or an experienced crafter exploring intricate floral or geometric layouts, you’ll find structured guidance to help you choose, customize, and confidently complete your next project.
Our insights are based on hands-on crafting experience, trend analysis within the creative community, and tested embroidery techniques that prioritize clarity and results. By the end, you’ll understand how to select patterns, adapt them to your style, and elevate your embroidery with purpose and precision.
Designing your own embroidery doesn’t require gallery-level drawing skills (despite what your inner critic says). This hand embroidery patterns guide breaks the journey into practical stages any maker can follow.
Start with Inspiration
- Snap photos at your local farmers market—florals, signage, even latte foam art.
- Browse textile motifs common in your region (think Appalachian quilting shapes or Scandinavian folk blooms).
Sketch in Layers
Define your motif (the main design element) and build simple outlines first. Imperfect lines stitch beautifully—thread forgives.
Test and Transfer
Use tracing paper or a lightbox to refine placement before hooping fabric. Pro tip: always test stitches on scrap cotton to check scale and tension.
Finding Your Creative Spark: Where to Look for Inspiration
Inspiration isn’t a lightning bolt (despite what movies suggest). It’s usually a pattern you notice and then choose to explore. If you’re unsure where to begin, let’s simplify it.
Look to the Natural World
Nature offers ready-made design references. Botanical motifs (plant-based designs) and simple animal outlines translate beautifully into thread. A single leaf, broken down into basic curves and veins, becomes manageable instead of overwhelming. Think less rainforest mural, more clean line drawing.
Explore Personal Themes
Personal art feels powerful because it tells a story. A favorite quote, a pet’s silhouette, or even an inside joke can anchor a design. When using a hand embroidery patterns guide, you’re not copying—you’re learning structure, then layering meaning on top.
Leverage Digital Mood Boards
A digital mood board is simply a curated collection of images that share a vibe. Platforms like Pinterest help you search focused terms such as “line art” or “geometric patterns.”
| Source | What to Look For | Why It Helps |
|---|---|---|
| Nature walks | Leaves, insects, textures |
Organic flow |
| Personal photos | Silhouettes, gestures | Emotional tie|
| Instagram artists | Color balance, spacing | Technique ideas|
Study Other Artisans
Notice how experienced stitchers simplify complex subjects. They reduce detail, emphasize contrast, and let negative space breathe (yes, empty space is design, too). Clarifying these elements makes creativity feel far less mysterious.
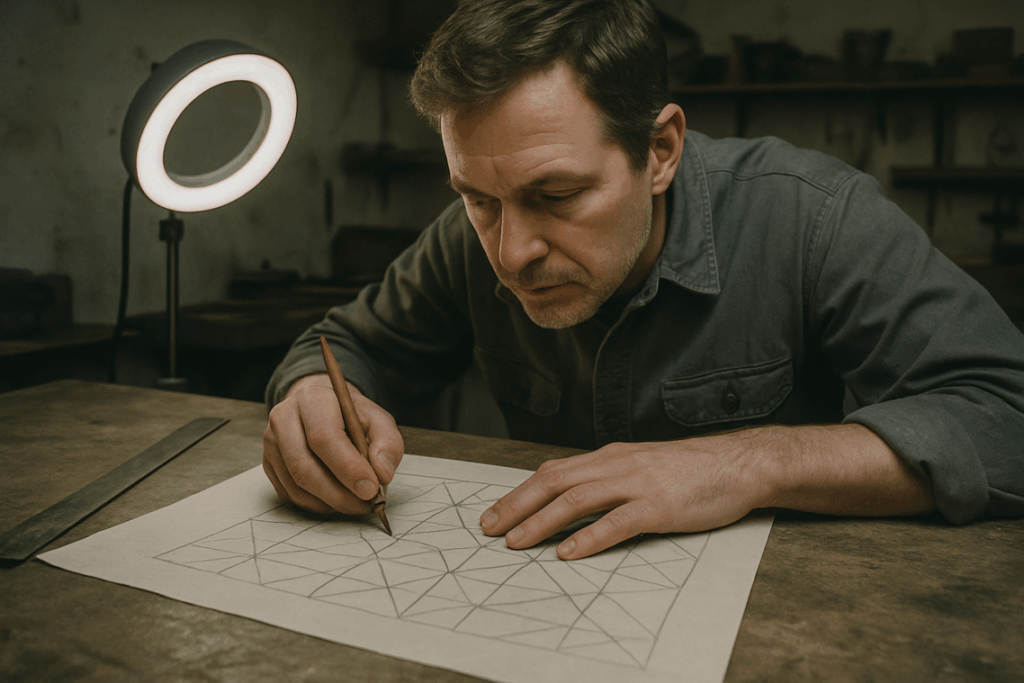
Putting Pencil to Paper: The Art of the Initial Sketch
Every great embroidery project begins with a rough idea—not a flawless drawing. Your first sketch is about translating inspiration into visible form. Think of it as a blueprint: simple circles for florals, loose lines for stems, blocks for lettering. (Yes, it might look like a doodle from a coffee break—that’s the point.)
Choose Your Tools
A standard HB pencil and smooth sketch paper give you control and easy erasing. Mechanical pencils offer consistent line weight, while softer leads (2B–4B) help define darker outlines. Prefer digital? Apps like Procreate or Adobe Fresco let you resize motifs to exact hoop dimensions—6-inch and 8-inch hoops being the most common retail sizes. The benefit: precise scaling before thread ever hits fabric.
Key Design Principles
Scale & Composition: Map your design to the hoop’s diameter. Apply the rule of thirds—divide the circle visually into three sections horizontally and vertically—to create balanced focal points (a technique widely used in photography and design theory).
Simplification: Break complex references into core shapes. A rose becomes layered spirals; a bird reduces to ovals and arcs. This makes stitch selection easier when following a hand embroidery patterns guide.
For evolving inspiration, explore top crafting trends dominating workshops this year.
From Sketch to Stitch Map: Refining Your Pattern
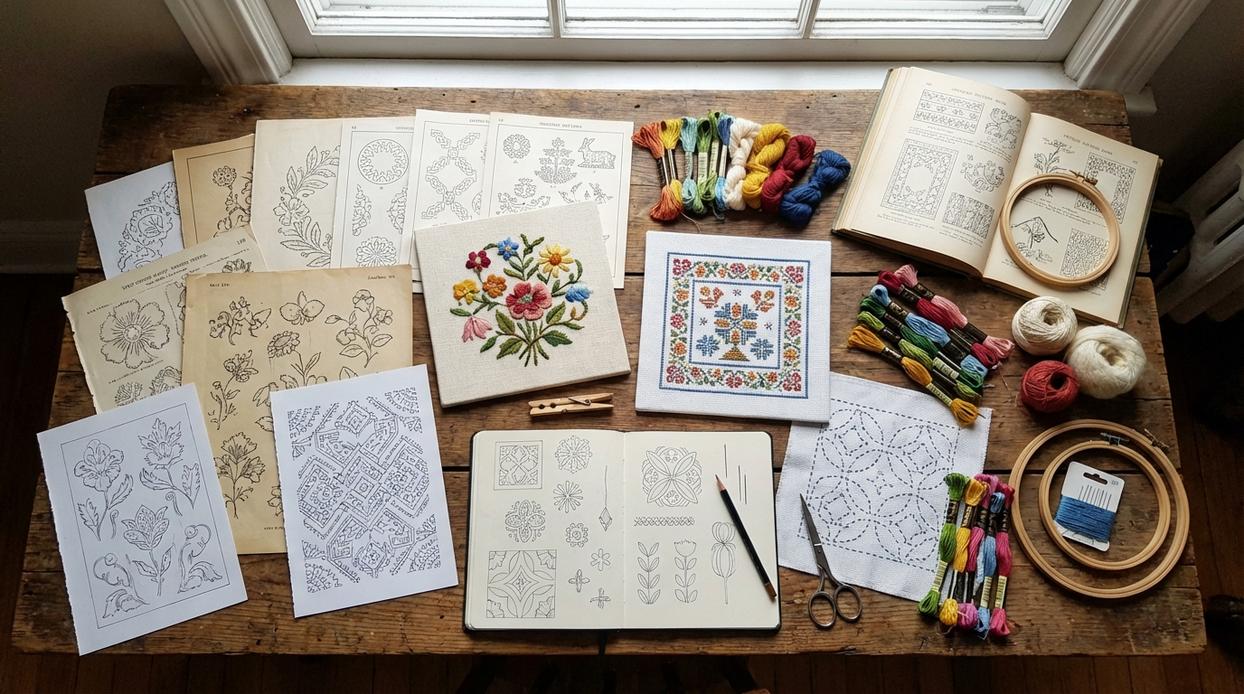
Once your concept is on paper, the real refinement begins. First, create clean, traceable lines. Think of this as Draft A vs. Draft B: your rough sketch captures energy, but your clean outline captures intention. Draft A is expressive (and a little chaotic). Draft B is precise, making it far easier to transfer onto fabric without second-guessing every curve. Use a fine-tip pen or sharpened pencil and commit to confident strokes.
Next, assign stitches to shapes. For example, backstitch vs. split stitch for outlines—backstitch gives you crisp, graphic definition, while split stitch creates a slightly textured, hand-drawn look. Similarly, satin stitch vs. long-and-short stitch for filled areas: satin is bold and smooth; long-and-short offers shading and dimension. French knots, meanwhile, add raised texture (perfect for flower centers or starry skies). Choosing intentionally now prevents mid-project indecision later.
Then, develop a color palette. Lay skeins side by side and compare complementary colors (blue and orange for contrast) with analogous schemes (blue, teal, green for harmony). Complementary palettes pop dramatically; analogous palettes feel cohesive and calm. According to color theory principles outlined by Adobe Color, complementary schemes create high visual contrast, which naturally draws the eye.
Finally, create a “Stitch & Color Key.” Map each thread and stitch to its designated area. In other words, build your own hand embroidery patterns guide for this specific project. It’s your roadmap—so when you’re deep in stitching mode, you won’t have to pause and wonder, “Wait… what was this section again?”
Getting Your Design onto Fabric: Essential Transfer Methods
Getting a clean design onto fabric is half the battle in embroidery (and yes, this is where many projects quietly unravel before they begin). Let’s break down the essentials—plus a few pro-level insights most tutorials skip.
The Window/Lightbox Method
The simplest technique: tape your pattern to a bright window or lightbox, layer fabric on top, and trace with a water-soluble pen. This works best on lightweight cotton or linen. Pro tip: turn off overhead lights for sharper visibility and less eye strain.
Carbon Paper Transfer
Ideal for darker or thicker fabrics. Slip dressmaker’s carbon paper between pattern and fabric, then trace firmly. Unlike standard craft blogs suggest, test pressure first—too light won’t transfer; too heavy leaves grooves.
Printable Stabilizer Hack
Print directly onto sticky, water-soluble stabilizer, adhere, stitch, then rinse away. It’s a favorite in any serious hand embroidery patterns guide because it preserves detail—even for intricate lettering (think tiny Taylor Swift-era friendship bracelet fonts).
Your creative spark deserves structure. Start by gathering inspiration—a photo, fabric swatch, or even a movie still that lingers in your mind. Next, sketch loosely; perfection comes later (no one drafts a masterpiece on the first try). Refine shapes, define stitch types, and test scale before transferring to fabric.
If you feel stuck, consult a reliable hand embroidery patterns guide to clarify stitch choices and proportions. Then trace confidently.
Action beats hesitation. Choose one idea today, set a 20-minute timer, and complete a draft. Small, finished steps build real design momentum. Progress compounds faster than you expect. Trust the process.
Bring Your Next Stitching Project to Life
You came here looking for clarity, inspiration, and practical direction—and now you have it. From understanding essential techniques to spotting creative trends and experimenting with fresh artistic styles, you’re equipped to move forward with confidence.
If you’ve ever felt stuck choosing designs, unsure how to elevate your stitching, or frustrated by projects that didn’t turn out as planned, you’re not alone. The difference between “just okay” results and pieces you’re proud to display comes down to the right guidance and smart technique choices.
This hand embroidery patterns guide gives you that foundation. Now it’s time to act.
Pick one pattern. Gather your materials. Apply one new technique you learned today. Then challenge yourself with a slightly more detailed design to stretch your skills.
Thousands of passionate crafters rely on these proven techniques to create polished, eye-catching pieces that stand out. You can, too.
Don’t let another idea sit unfinished. Start stitching your next project today—and turn your creative vision into something beautifully handmade.
 Lynn Hallierones assisted in building the LWMF Crafts platform by contributing ideas and support that helped expand its creative direction. Hallierones worked alongside the team to highlight artisan projects and encourage a community centered around artistic exploration and hands-on crafting innovation.